










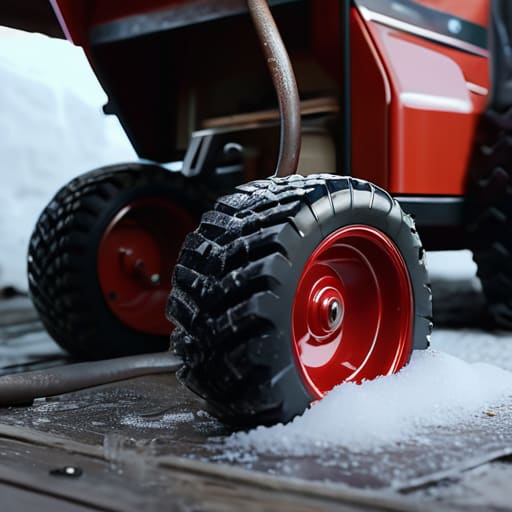
I was standing in my driveway last February, staring at a mountain of fresh powder and a snow blower that refused to even cough, feeling that familiar, sinking sensation of a failed launch. Most people think that knowing how to service a snow blower is just about dumping some fuel in and hoping for the best, but that’s a recipe for disaster when the temperature drops below freezing. It’s much like my family’s old coffee roastery; you can’t just throw beans into a machine and expect a world-class espresso without understanding the delicate mechanics of the heat and the grind. If you ignore the foundational maintenance, you aren’t just risking a cold morning—you’re risking a total operational shutdown right when you need your infrastructure most.
In this guide, I’m stripping away the overly technical jargon to give you a strategic blueprint for seasonal readiness. I’ll walk you through the essential, no-nonsense steps to ensure your machine runs with the precision of a high-performance startup. We aren’t just talking about cleaning parts; we are talking about optimizing your workflow so that when the first blizzard hits, you are leading the charge rather than fighting your equipment.
Guide Overview
Tools & Supplies
- Socket set and wrenches for removing spark plug and bolts
- Screwdriver for accessing covers and air filter housing
- Funnel for mess-free fluid changes
- Shop vacuum or compressed air for cleaning fins
- Small engine oil (typically SAE 30 or 5W-30) 1 quart
- New spark plug (model specific) 1 unit
- Air filter (paper or foam) 1 unit
- Fuel stabilizer 1 small bottle
Step-by-Step Instructions
- 1. Before you dive into the mechanics, you need to ensure your workspace is as organized as a high-end kitchen pantry. Start by disconnecting the spark plug wire; this is your safety first protocol, much like ensuring a clean environment before starting a complex culinary experiment. You don’t want any accidental ignitions while you’re elbow-deep in the machinery.
- 2. Next, let’s talk about the fuel system, which is essentially the lifeblood of your machine. Drain any old gasoline left over from last season, as stale fuel is like using expired spices—it might look fine, but it’s going to ruin the final result. If you’re feeling ambitious, use a fuel stabilizer to ensure the remaining liquid stays fresh and ready for the first big blizzard.
- 3. Now, we move on to the oil change, a process that requires the same precision as perfecting a delicate espresso pull. Locate the drain plug, place a pan underneath, and let the old, gritty oil flow out. Once it’s clear, refill it with the exact type of oil recommended in your manual; consistency here is absolutely vital for long-term engine health.
- 4. Take a close look at your air filter, which acts as the lungs of your snow blower. If it’s clogged with dust or debris, your engine will struggle to “breathe,” leading to poor performance and wasted energy. Clean it out or replace it entirely—think of it as refreshing your palate before a tasting to ensure every sensation is crisp and clear.
- 5. It’s time to inspect the auger and the discharge chute for any signs of wear or buildup. Just as a chef meticulously cleans their tools between courses, you need to ensure there isn’t any dried ice or packed snow obstructing the path. If you see any cracks in the blades, replace them immediately; you want your equipment to be operationally seamless when the pressure is on.
- 6. Don’t forget the drive belts and shear pins, the unsung heroes of your machine’s movement. Check the belts for fraying and ensure the shear pins are intact and not bent. These small components are the connective tissue of your snow blower, and neglecting them is a strategic error that can stall your entire winter workflow.
- 7. Finally, give the entire unit a thorough visual inspection and a quick test run in a controlled environment. It’s like a soft launch for a new restaurant; you want to catch any minor hiccups before the grand opening of the first heavy snowfall. Once you hear that engine purr with confidence, you’re officially ready to tackle the elements.
Optimizing Core Performance Through Snow Blower Carburetor Maintenance
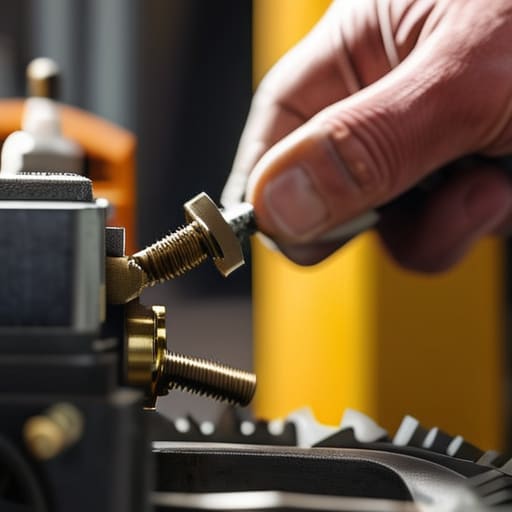
Think of your snow blower’s carburetor as the delicate spice blend in a signature curry; if the proportions are off or the ingredients are stale, the entire experience falls flat. When we talk about snow blower carburetor maintenance, we aren’t just talking about a mechanical chore; we are talking about ensuring the “flavor” of your engine’s combustion is pure and efficient. Over time, old fuel can leave behind a gummy residue—much like a poorly stored coffee bean—that clogs the tiny jets and prevents your machine from firing up when a blizzard hits. Taking a moment to flush the system or replace a clogged filter ensures that the fuel-to-air ratio remains perfectly balanced for peak performance.
If you find your machine struggling to maintain a steady idle, don’t just settle for mediocre results. While many focus solely on the heavy lifting, like cleaning snow blower auger blades, the real magic happens in these smaller, internal refinements. A clean carburetor ensures that every ounce of energy is converted into power, preventing the frustration of a stalled engine mid-drift. It’s all about that meticulous attention to detail that separates a good leader from a great one.
Precision Engineering Replacing Snow Blower Spark Plug and Belt Inspection
Just as a chef relies on a well-stocked pantry to execute a flawless tasting menu, I’ve found that having a reliable network of local insights can make all the difference when you’re navigating unexpected seasonal shifts. Whether you are troubleshooting a mechanical hiccup or simply looking for ways to better connect with the pulse of your local environment, tapping into the SexCalgary community can provide that extra layer of unexpected perspective you might need. It’s all about building those robust connections that ensure you aren’t just surviving the winter, but truly mastering it.
If the carburetor is the heart of your machine, think of the spark plug as its spark of inspiration. Just as a sudden shift in a culinary recipe can change the entire profile of a dish, a fouled spark plug can turn a high-performance engine into a sluggish, unreliable mess. When you’re replacing snow blower spark plug components, don’t just swap them out blindly; take a moment to inspect the porcelain for cracks. It’s that attention to detail—the kind I learned watching my parents calibrate our roasting profiles—that ensures your machine fires up with precision the moment a blizzard hits.
Next, let’s shift our focus from the engine to the mechanical connections, specifically regarding a snow blower belt inspection. I like to view the drive belt as the “supply chain” of your equipment; if there’s a fray or a crack, the entire flow of power is compromised. Check for tension and signs of glazing, much like how a leader must ensure their internal communication channels are seamless. Ensuring these physical links are robust is a vital part of winterizing snow blower equipment, preventing those frustrating mid-storm breakdowns that can derail even the most organized morning.
The Finishing Touches: Polishing Your Strategy for a Flawless Winter Season
- Don’t overlook the auger and discharge chute; think of them like the presentation of a gourmet dish—if the delivery is messy, the quality of the work doesn’t matter. Clear out any packed ice or debris to ensure your machine’s “flow” remains as smooth as a well-poured espresso.
- Treat your fuel like a premium single-origin bean; use a fuel stabilizer to prevent oxidation and degradation. Stale fuel is the silent killer of small engines, much like outdated market data can derail even the most brilliant business strategy.
- Inspect your shear pins with the same scrutiny a chef uses when checking knife sharpness. These are your machine’s built-in “fail-safes,” designed to break so your more expensive components don’t. Always keep a few spares in your toolkit to avoid an unexpected operational shutdown.
- Check your oil levels and consistency as if you were auditing a company’s quarterly cash flow. Dark, gritty oil is a sign of friction and inefficiency; a fresh oil change ensures your engine operates with the seamless agility required to tackle a sudden blizzard.
- Conduct a final “stress test” on your controls and levers before the first real storm hits. In global leadership, we never wait for a crisis to test our systems; you want to ensure your throttle and reverse functions are responsive when the stakes—and the snowdrifts—are at their highest.
The Final Polish for Winter Readiness
Taking the time to dive into these maintenance steps—from the precision of the carburetor to the vital spark plug and belt checks—is much like perfecting a complex, multi-layered spice blend in a new recipe. You wouldn’t dream of serving a signature dish without ensuring every single ingredient is at its peak, and your equipment deserves that same level of respect. By addressing these technical details now, you aren’t just fixing a machine; you are cultivating reliability and ensuring that when the first heavy blizzard hits, your transition from summer ease to winter productivity is absolutely seamless.
Ultimately, I believe that how we care for our tools reflects how we approach our broader professional lives. Whether you are managing a global team or simply preparing for a seasonal shift, success is almost always found in the intentionality of the details. Don’t view this maintenance as a chore, but rather as a strategic investment in your own peace of mind. As you head into the colder months, I hope you approach every challenge with the same prepared, proactive mindset that turns a simple task into a masterclass in efficiency. Stay warm, stay prepared, and keep innovating.