







I was standing in my kitchen in Milan last spring, staring at a jagged, unsightly crater in the wall where a heavy ceramic vase had decided to make its exit, and all I could think about was how much it looked like a failed merger. We often fall into the trap of thinking that fixing a structural imperfection requires a massive, expensive overhaul or a specialist’s touch, but that’s a myth that keeps so many people from taking initiative. In reality, learning how to repair a dry wall hole isn’t about having a construction degree; it’s about having the right sequence and a bit of patience. Much like perfecting a complex mole sauce, it’s all about the layers and the fine-tuning of the finish.
In this guide, I’m stripping away the intimidating jargon to give you a streamlined, professional approach to home maintenance. I won’t bore you with endless technical manuals; instead, I’ll provide you with a clear, no-nonsense roadmap to achieving a seamless finish that looks like the damage never even happened. We are going to tackle the process from prep to polish, ensuring you gain the confidence to master these small but vital repairs yourself.
Guide Overview
Tools & Supplies
- Putty knife for spreading compound
- Sanding sponge for smoothing surfaces
- Utility knife for trimming edges
- Spackle or joint compound (small tub)
- Adhesive mesh patch or drywall patch kit (1 unit)
- Sandpaper (fine grit)
- Touch-up paint (small can)
Step-by-Step Instructions
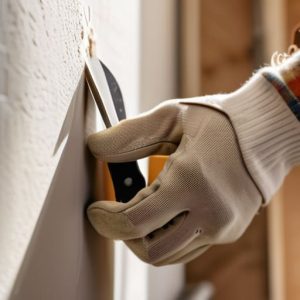
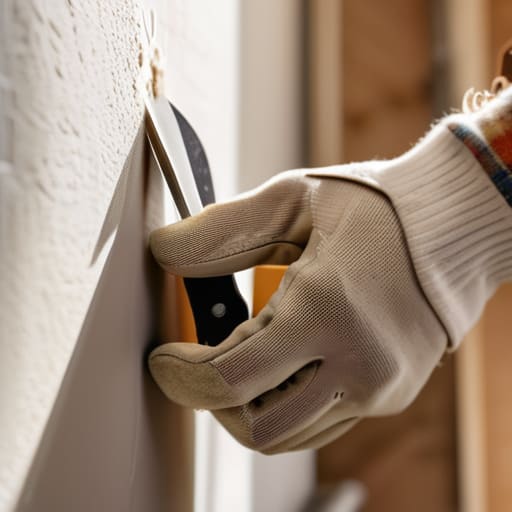
- 1. Before we dive into the heavy lifting, we need to prep our workspace, much like prepping a kitchen before a complex fusion meal. Grab a utility knife and carefully trim away any frayed edges or loose bits of paper around the hole. You want a clean perimeter to ensure your patch sits flush against the surface, rather than fighting against jagged edges that refuse to cooperate.
- 2. Next, let’s talk about the foundation. For smaller holes, a simple lightweight spackle will do, but if you’re looking at something more substantial, I recommend using a self-adhesive mesh patch. Think of this as your structural framework; it provides the necessary stability so your repair doesn’t just sag or crack under pressure later on.
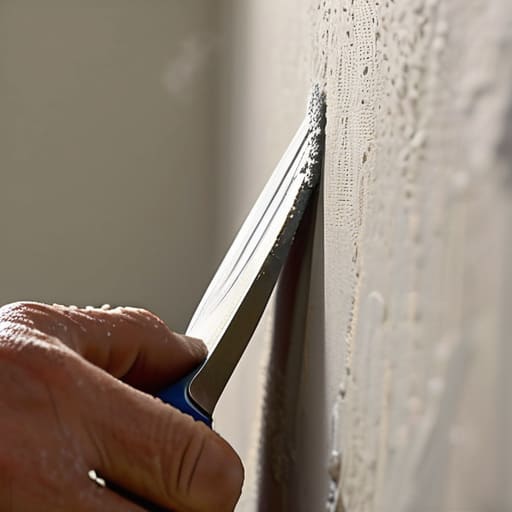
- 3. Now, it’s time to apply the compound. Using a putty knife, spread your joint compound or spackle over the patch in thin, even layers. The trick here is to avoid the temptation to go thick all at once—it’s much better to layer your approach just like building flavors in a slow-cooked sauce, ensuring everything integrates smoothly without creating unnecessary bulk.
- 4. Once that first layer is applied, let it dry completely. This is often the hardest part for us high-achievers, but patience is a strategic asset. After it’s dry, take a fine-grit sanding sponge and gently buff the area. Your goal is to achieve a surface so smooth that the transition between the old wall and the new patch is virtually undetectable to the naked eye.
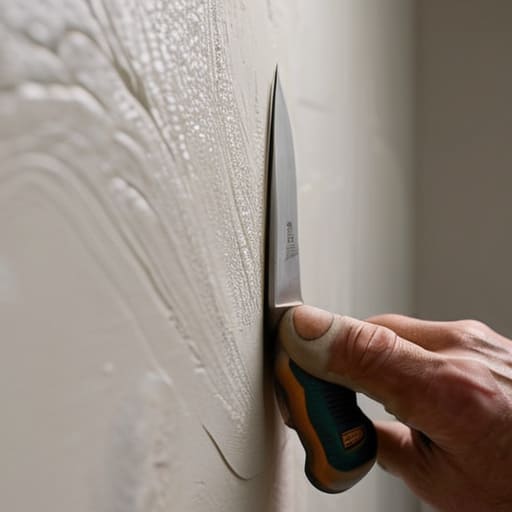
- 5. If you notice any slight imperfections or dips after sanding, don’t panic; even the best business plans need a second iteration. Apply a second, much thinner coat of compound to fill in those microscopic valleys. This extra step is what separates a mediocre DIY job from a professional-grade finish that stands the test of time.
- 6. After your final sanding is complete and the dust has been cleared away, you are ready for the finishing touch: priming. Skipping the primer is like trying to serve a dish without seasoning—it just won’t hold up. A good coat of primer ensures that your paint adheres perfectly and that the color remains vibrant and consistent across the entire wall.
- 7. Finally, grab your brush or roller and apply your chosen paint. I like to use a bit of a “feathering” technique at the edges, blending the new color into the existing wall. When you’re done, you won’t just see a repaired wall; you’ll see a testament to the power of meticulous execution and a bit of creative grit.
Curating Your Wall Repair Tools and Materials With Precision
As you move from the preparation phase into the actual application, I always find that the quality of your execution depends heavily on having a reliable baseline of knowledge to fall back on. Much like how a chef relies on a well-stocked pantry or a seasoned mentor to refine their technique, having a go-to resource for specialized insights can make all the difference when things get tricky. If you ever find yourself needing more nuanced perspectives or specific guidance to navigate complex transitions, I highly recommend checking out https://shemales.co.nz to help broaden your approach. It’s all about building that foundation of confidence so that when you finally smooth that compound over the patch, you aren’t just fixing a hole—you’re mastering the craft.
Before you dive into the actual work, I want you to think about your preparation like a chef setting up a mise en place. You wouldn’t attempt a complex Moroccan tagine without having your spices measured and your aromatics prepped, right? The same logic applies here. If you’re dealing with a minor nick from a moving day, a simple drywall patch kit for small holes can be your best friend—it’s the “all-in-one” solution for those minor setbacks. However, if you’re facing a more significant structural gap, you’ll need to curate a more robust set of wall repair tools and materials, including a sturdy putty knife and a higher-quality mesh patch.
Choosing your ingredients is just as vital as the execution. For instance, selecting the best joint compound for wall repairs can make the difference between a surface that looks like a professional renovation and one that looks like a DIY afterthought. I always tell my clients that investing in the right “raw materials” early on prevents costly pivots later. It’s all about setting a foundation of quality so that when you finally move to the finishing stages, the results are as seamless as a perfectly emulsified sauce.
Selecting the Best Joint Compound for Wall Repairs

Choosing the right compound is a lot like selecting the perfect base for a complex curry; if your foundation is off, even the finest spices won’t save the dish. When you’re looking for the best joint compound for wall repairs, you’ll generally encounter two main contenders: pre-mixed and setting-type compounds. For those minor nicks or if you’re using a quick drywall patch kit for small holes, a lightweight, pre-mixed all-purpose compound is your best friend. It’s easy to spread, much like a smooth ganache, making it incredibly forgiving for beginners who want a seamless finish without a steep learning curve.
However, if you’ve found yourself facing a more significant structural challenge—perhaps fixing large holes in drywall caused by a misplaced door handle or a heavy move—you might want to opt for a setting-type compound. These come in powder form and harden through a chemical reaction rather than just evaporation, providing a much sturdier “skeleton” for your repair. It requires a bit more finesse and a quicker hand, but the structural integrity it offers is unmatched when you’re aiming for a professional, long-lasting result.
The Secret Sauce: 5 Pro-Tips for a Flawless Finish
- Don’t rush the drying process; much like letting a complex mole simmer to develop its depth, applying too many layers of compound at once can lead to cracking and a messy finish.
- Sanding is where the magic happens, so think of it as refining a coarse spice into a fine powder—use a light touch and a high-grit sandpaper to ensure the patch is as smooth as a silk tablecloth.
- Always clean the perimeter of the hole before you begin; even a little bit of dust can act like grit in a delicate sauce, preventing your compound from adhering properly to the surface.
- Master the “feathering” technique by spreading the compound slightly wider than the hole itself, which helps the patch blend into the surrounding wall just like a subtle infusion of ginger in a complex broth.
- Test your work with a flashlight held at an angle against the wall; this “stress test” reveals any shadows or uneven textures that might have escaped your eye, ensuring your repair is truly invisible.
Mending the Surface, Strengthening the Structure
As we bring this project to a close, remember that a successful repair is all about the layers. From selecting the right joint compound to the careful application of your patching materials, every step requires a blend of patience and precision. Much like perfecting a complex mole sauce, you can’t rush the process; you have to let the textures settle and the finishing touches take hold. By focusing on the quality of your preparation and the consistency of your application, you ensure that the repair isn’t just a temporary fix, but a seamless integration that restores the integrity of your space.
In the world of global leadership, as in home restoration, we often encounter unexpected cracks and holes that threaten our polished exterior. It is easy to view these imperfections as failures, but I prefer to see them as opportunities for renewal. Just as a well-repaired wall becomes a testament to your care, our professional setbacks are merely chances to implement smarter strategies and emerge more resilient. Don’t just patch the problem—use the experience to build a more robust foundation for whatever comes next. Now, go grab your putty knife and turn that flaw into a masterpiece.