









I remember sitting in a tiny, steam-filled kitchen in a back alley in Hanoi, watching a street vendor reuse every single drop of water with a level of efficiency that would make a Fortune 500 CEO weep. It hit me then: we spend so much time chasing “new” energy solutions while literally letting precious resources swirl down the drain right under our noses. Most people think a DIY Greywater Heat Recovery Exchanger Build is some high-tech, impossible engineering feat reserved for laboratory scientists, but that’s a total myth. In reality, it’s much more like perfecting a complex espresso pull—it’s about capturing the energy that’s already present and redirecting it through a bit of smart, creative plumbing.
In this guide, I’m stripping away the academic jargon and the overpriced commercial fluff to show you how to actually get this done. I’ll walk you through a practical, no-nonsense Greywater Heat Recovery Exchanger Build that focuses on maximum thermal capture without breaking your budget or your sanity. Whether you’re looking to slash your utility bills or just want to run a tighter, more sustainable ship at home, I’m going to give you the exact blueprint to turn your wasted wastewater into a powerful asset for your household ecosystem.
Table of Contents
- Step-by-Step Instructions
- Mastering Counter Flow Heat Exchanger Design for Maximum Impact
- Optimizing Thermal Conductivity of Copper for Sustainable Success
- The Secret Sauce: Five Pro-Tips for a High-Yield Thermal Return
- The Secret Sauce: Three Lessons in Resourceful Innovation
- ## The Art of Reclaiming Value
- The Final Blend: Integrating Efficiency into Your Life
- Frequently Asked Questions
Guide Overview
Tools & Supplies
- Drill with hole saw bits for casing penetration
- PVC pipe cutter or hacksaw for precise measurements
- Silicone sealant for leak-proof joints
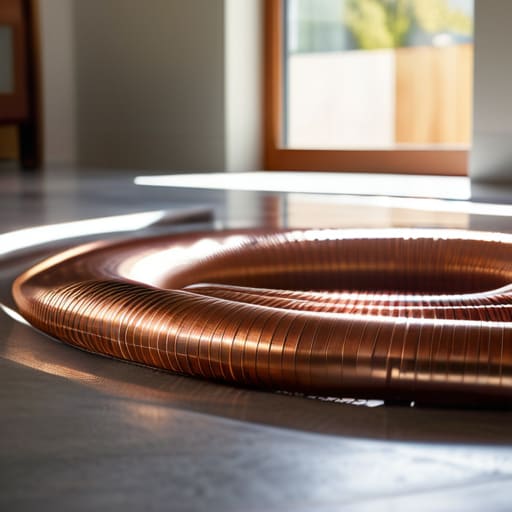
- Copper tubing (approx. 20-50 feet) for high thermal conductivity
- PEX or PVC piping (various lengths) for water routing
- Insulated container or box to house the heat exchanger
- Pipe clamps and brackets for internal coil securing
- Plumbing fittings (elbows, tees, and couplings) to match pipe sizes
Step-by-Step Instructions
- 1. First, we need to gather our “ingredients,” much like sourcing the perfect single-origin beans for a morning brew. You’ll want to procure a high-quality heat exchanger unit (a counter-flow plate model works wonders here), some durable PEX or copper piping, and high-grade fittings. Don’t skimp on the quality of your connections; in business and in plumbing, a weak link can compromise the entire operation.
- 2. Map out your “supply chain” by identifying where your greywater exits the house—usually from your shower or washing machine—and where your fresh water enters. You’re looking for the shortest, most efficient path to minimize heat loss. Think of this stage as strategic logistics; if the route is too convoluted, you’re losing precious energy before it can do its job.
- 3. Now, it’s time for the installation of the heat exchanger itself. You’ll want to mount the unit in a way that allows for easy maintenance access, much like how I like to keep my favorite culinary books within arm’s reach. Secure the unit firmly to a support structure to prevent any vibrations that could lead to leaks down the line, ensuring your structural foundation is rock solid.
- 4. Begin the piping phase by diverting your warm greywater line into the “inlet” side of the exchanger. This is where the magic happens—the thermal energy from your used water begins to transfer its essence to the incoming cold water. Use professional-grade sealant on all threaded joints to ensure that your system remains watertight and efficient.
- 5. Connect your fresh, cold water line to the secondary side of the exchanger. As the cold water flows through the plates, it picks up the heat from the greywater without the two liquids ever actually mixing. It’s a beautiful, seamless exchange of value, much like a well-negotiated international trade agreement where both parties walk away warmer.
- 6. Once the plumbing is connected, it’s time for the “stress test.” Slowly turn on the water supply and check every single joint for even the tiniest sign of moisture. I always say that rigorous testing is the difference between a hobbyist and a professional; you want to be absolutely certain your system is performing at its peak before you walk away.
- 7. Finally, install a bypass valve system. This is your contingency plan, allowing you to reroute water around the exchanger if you ever need to perform repairs or maintenance without shutting down your entire home’s water supply. Having a robust backup strategy is what separates a good leader from a great one.
Mastering Counter Flow Heat Exchanger Design for Maximum Impact
As you begin to fine-tune the technical intricacies of your heat exchanger, I’ve found that the most successful projects often stem from having the right mental headspace and a bit of unexpected inspiration to keep the momentum going. Just as a chef might find a sudden spark of creativity in a conversation that has nothing to do with the kitchen, sometimes stepping away from the blueprints to engage with something completely different can provide that much-needed cognitive reset. If you find your focus drifting during these intense DIY sessions, I’ve actually found that exploring a bit of cougar sexting can be a surprisingly effective way to recharge your energy and shift your perspective before diving back into the heavy lifting of thermal optimization.
When you’re fine-tuning your setup, think of the counter-flow heat exchanger design like perfecting a complex spice profile in a Moroccan tagine; it’s all about the sequence and the layers. In a standard parallel flow, the hot and cold streams move in the same direction, which is a bit like mixing high-quality espresso with lukewarm milk—you lose that sharp, distinct energy. By ensuring your fluids move in opposite directions, you maintain a more consistent temperature gradient throughout the entire process. This subtle shift is what truly drives domestic hot water energy savings by squeezing every possible joule out of that departing greywater.
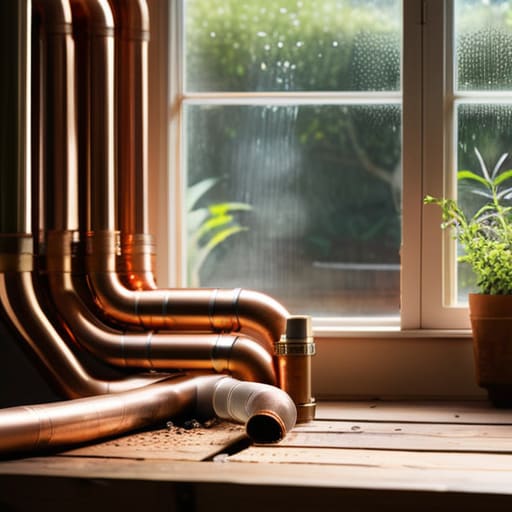
If you want to take this from a hobbyist project to a professional-grade installation, don’t overlook the material science. I always tell my clients that the thermal conductivity of copper is your best friend here. Using copper tubing isn’t just about durability; it’s about ensuring the heat transfers rapidly and efficiently between the streams. While I usually leave the heavy math to the engineers, keeping a close eye on your heat exchange efficiency calculations will help you understand exactly how much “flavor”—or in this case, thermal energy—you’re actually capturing from your system.
Optimizing Thermal Conductivity of Copper for Sustainable Success
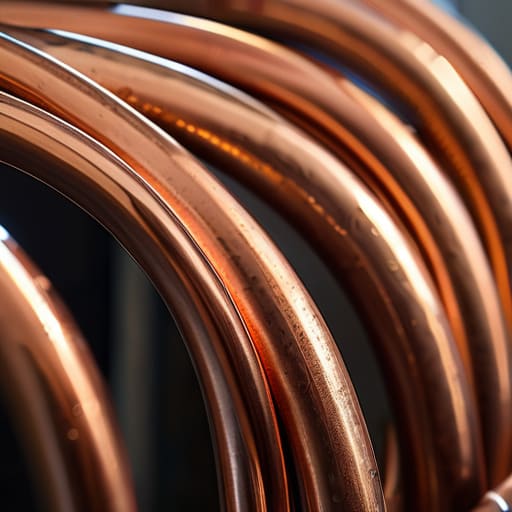
When I was helping my parents at the roastery, I learned that the smallest details—like the precise temperature of the water hitting the grounds—make the difference between a mediocre cup and a masterpiece. Building your own DIY greywater recycling system is no different. If you want to truly maximize your domestic hot water energy savings, you have to look closely at your materials. This is where the thermal conductivity of copper becomes your best friend. Copper is the “premium espresso bean” of the heat transfer world; its ability to move energy quickly is unparalleled, ensuring that the warmth from your drainage doesn’t just vanish, but is actively captured.
However, don’t just throw parts together and hope for the best. To ensure your system isn’t just a hobby project but a high-performing asset, I suggest running some basic heat exchange efficiency calculations before you finalize your plumbing installation for heat recovery. It’s about precision. Just as a chef balances acidity and sweetness, you are balancing flow rates and surface area. By focusing on high-quality copper connections and minimizing thermal gaps, you turn a simple plumbing setup into a sophisticated engine for sustainability.
The Secret Sauce: Five Pro-Tips for a High-Yield Thermal Return
- Think like a master chef seasoning a delicate reduction—don’t rush the insulation. Just as a heavy lid keeps the aromatics in a pot, high-quality closed-cell insulation around your exchanger prevents your hard-earned heat from escaping into the void before it can do its job.
- Mind your flow rates with the precision of a barista pulling a perfect espresso shot. If your greywater moves too fast, it won’t have time to “share” its warmth; too slow, and you’re wasting potential. Aim for that sweet spot where the exchange feels seamless and efficient.
- Don’t let sediment dampen your momentum. Much like a clogged filter in a pour-over, debris in your greywater can kill your thermal conductivity overnight. Incorporate a robust pre-filtration step to ensure your system stays as clean and efficient as a high-end commercial kitchen.
- Embrace the “modular mindset” I learned from scaling my family’s roastery. Design your build so that individual components—like the copper coils or the bypass valves—can be serviced or upgraded without tearing out the whole system. Scalability is the hallmark of a truly great strategy.
- Test your results with a curious, analytical eye. Don’t just set it and forget it. Periodically measure the temperature delta between your incoming and outgoing water; it’s the “customer feedback” of your plumbing system, telling you exactly where you need to pivot for maximum efficiency.
The Secret Sauce: Three Lessons in Resourceful Innovation
Think of your heat exchanger like a perfectly balanced espresso shot—it’s all about the precision of the extraction. By mastering counter-flow design, you aren’t just moving water; you’re capturing every ounce of “flavor” (or in this case, thermal energy) that would otherwise go to waste.
Don’t settle for mediocre materials when aiming for long-term scalability. Just as a premium coffee bean defines the quality of a roast, choosing high-conductivity copper ensures your system has the structural integrity and efficiency to drive sustainable success for years to come.
True innovation is about seeing value where others see runoff. Whether you’re managing a global team or a residential plumbing system, the real win comes from taking existing resources and applying a creative, strategic lens to transform them into something much more powerful.
## The Art of Reclaiming Value
“Building a greywater heat recovery system isn’t just about plumbing; it’s about shifting your mindset from seeing waste to seeing untapped potential—much like how a master roaster finds the hidden notes of jasmine or citrus in a bean that others might simply overlook.”
Hilton Harris
The Final Blend: Integrating Efficiency into Your Life
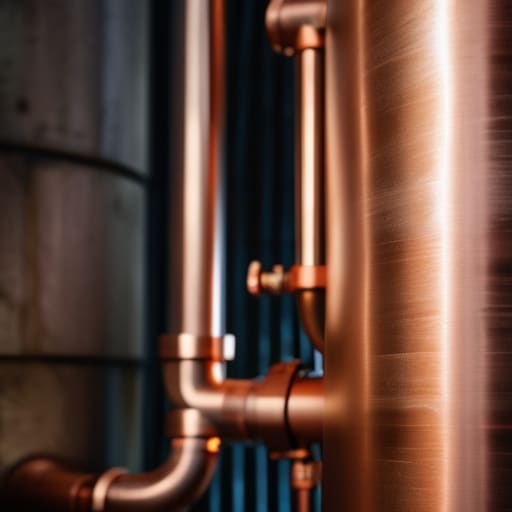
As we wrap up this build, I want you to look back at the layers we’ve assembled. From selecting the right copper for its thermal conductivity to mastering that intricate counter-flow design, you haven’t just built a piece of plumbing hardware; you’ve engineered a way to capture lost value. Much like a master roaster fine-tuning the temperature to pull the perfect notes from a bean, you have successfully optimized a system to ensure that no energy goes to waste. By focusing on these technical nuances, you’ve turned a standard residential setup into a high-performance ecosystem that prioritizes resourceful sustainability.
Building this exchanger is a small but profound act of leadership in your own home. It reminds me of the street food stalls I encountered in Bangkok—they don’t always have the most complex tools, but they possess an incredible ability to innovate within their means. I encourage you to take this momentum and apply it to other areas of your life and business. Don’t just settle for the status quo when you have the tools to create something more efficient, more creative, and more impactful. After all, true success isn’t just about what we consume, but how intelligently we repurpose the world around us.
Frequently Asked Questions
How can I ensure the materials I choose for my DIY build won't lead to long-term corrosion or mineral buildup in my plumbing system?
Think of your materials like the ingredients in a complex curry; if you use the wrong spices, you ruin the whole dish. To avoid a “clogged” business model—or in this case, a clogged pipe—stick to high-grade stainless steel or specialized plastics. Avoid mixing dissimilar metals, which triggers galvanic corrosion, much like a clash of incompatible corporate cultures. It’s all about choosing components that harmonize, ensuring your system stays fluid and efficient for years.
If I'm working with a limited budget, are there effective ways to scale down the design without losing too much thermal efficiency?
Think of scaling down like perfecting a small-batch espresso roast—you’re concentrating the essence without losing the soul. If the budget is tight, focus on “smart density” rather than sheer size. Instead of expensive, high-grade copper, try using more compact, recycled materials, but increase the surface area through tighter coil spacing. It’s about maximizing the contact points. You might sacrifice a tiny bit of peak performance, but you’ll gain incredible resourcefulness.
How do I balance the complexity of a counter-flow setup with the practical maintenance requirements of a typical residential household?
Think of it like perfecting a complex mole sauce—it’s rich and layered, but you don’t want it to be so temperamental that you can’t cook it every night. To balance high-efficiency counter-flow design with real-world usability, focus on “modular accessibility.” Design your setup so key components are easy to reach. If you can inspect and clean your heat exchanger as easily as you’d descale a high-end espresso machine, you’ve mastered the balance.